Streama – Setup Your Own Streaming Media Server In Minutes - Tested on Ubuntu 14.04 LTS

Streama is a free, open source application that helps to setup your own personal streaming media server in minutes in Unix-like operating systems. It’s like Netflix, but self-hostable. You can deploy it on your local system or VPS or dedicated server and stream the media files across multiple devices. The media files can be accessed from a web-browser from any system on your network. If you have deployed on your VPS, you can access it from anywhere. Streama works like your own personal Netflix system to stream your TV shows, videos, audios and movies. Streama is a web-based application written using Grails 3 (server-side) with SpringSecurity and all frond-end components are written in AngularJS. The built-in player is completely HTML5-based.
Prominent Features
Streama ships with a lot features as listed below.
- Easy to install configure. You can either download docker instance and fire up your media server in minutes or install vanilla version on your local or VPS or dedicated server.
- Drag and drop support to upload media files.
- Live sync watching support. You can watch videos with your friends, family remotely. It doesn’t matter where they are. You can all watch the same video at a time.
- Built-in beautiful video player to watch/listen video and audio.
- Built-in browser to access the media files in the server.
- Multi-user support. You can create individual user accounts to your family members and access the media server simultaneously.
- Streama supports pause-play option. Pause the playback at any time and Streama remembers where you left off last time.
- Streama can be able to detect similar movies and videos and shows for you to add.
- Self-hostable
- It is completely free and open source.
What do you need more? Streama has everything you to need to setup a full-fledged streaming media server in your Linux box.
Setup Your Own Streaming Media Server Using Streama
Streama requires JAVA 8 or later, preferably OpenJDK. And, the recommended OS is Ubuntu. For the purpose of this guide, I will be using Ubuntu 18.04 LTS.
By default, the latest Ubuntu 18.04 includes Open JDK 11. To install default openJDK in Ubuntu 18.04 or later, run:
Java 8 is the latest stable Long Time Support version. If you prefer to use Java LTS, run:
Add: Repository as
Add: Repository as
sudo add-apt-repository ppa:webupd8team/java -y
sudo apt-get update
I have installed openjdk-8-jdk.
To automatically set up the Java 8 environment variables
To check the installed Java version,run:
To automatically set up the Java 8 environment variables
sudo apt-get install oracle-java8-set-defaultTo check the installed Java version,run:
Once java installed, create a directory to save Streama executable and yml files.
I followed the official documentation, so I used this path – /data/streama. It is optional. You’re free to use any location of your choice.
Switch to streama directory:
Download the latest Streama executable file from releases page. As of writing this guide, the latest version was v1.6.0-RC8.
or Download from:
https://github.com/streamaserver/streama/releases/download/v1.6.0-RC7/streama-1.6.0-RC7.war
https://github.com/streamaserver/streama/releases/download/v1.6.0-RC7/streama-1.6.0-RC7.war
Make it executable:
Now, run Streama application using command:
If you an output something like below, Streama is working!
Open your web browser and navigate to URL – http://ip-address:8080
You should see Streama login screen. Login with default credentials – admin/admin
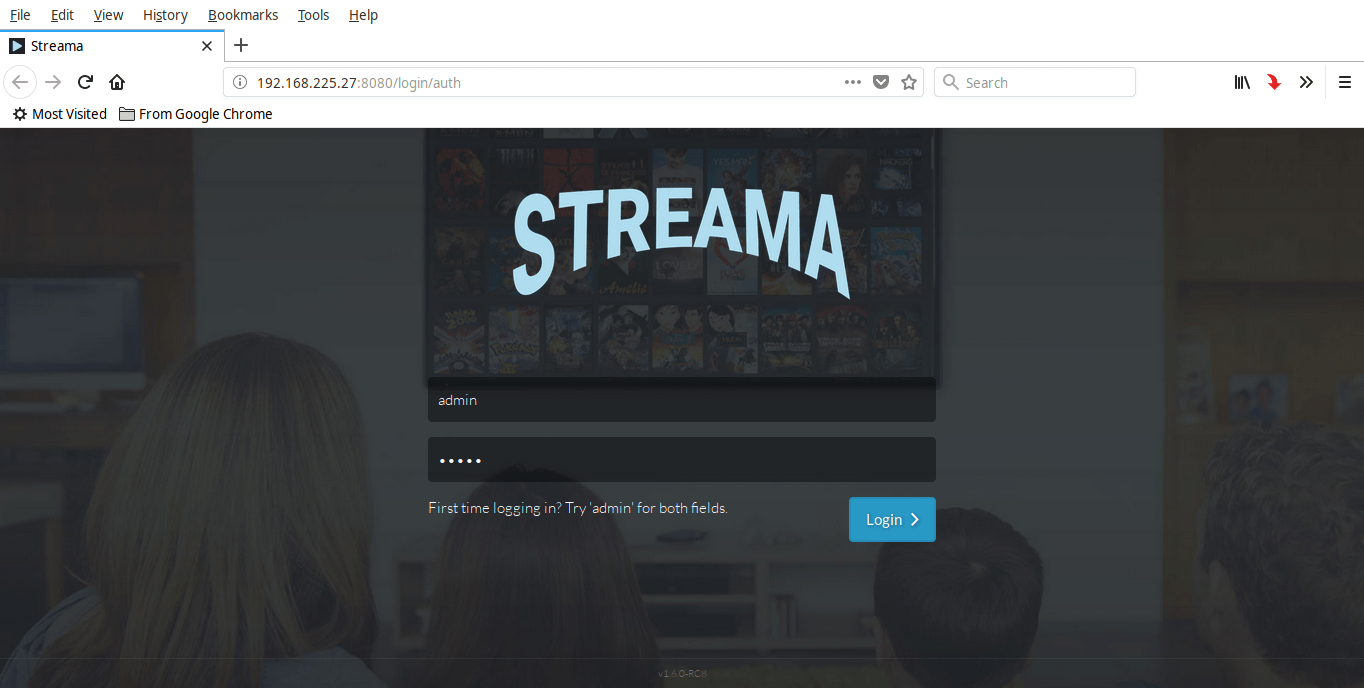
streama login page
Now, You need to fill out some required base-settings. Click OK button in the next screen and you will be redirected to the settings page. In the Settings page, you need to set some parameters such as the location of the Uploads directory, Streama logo, name of the media server, base URL, allow anonymous access, allow users to download videos. All fields marked with * is necessary to fill. Once you provided the details, click Save settings button.

streama settings
Congratulations! Your media server is ready to use!
Here is how Stream dashboard looks like.

Streama dashboard
And, this is the contents management page where you can upload movies, shows, access files via file manager, view the notifications and highlights.

Manage contents in Streama
Adding movies/shows
Let me show you how to add a movie.
Go to the “Manage Content” page from the dashboard and click “Create New Movie” link.
Enter the movie details, such as name, release date, IMDB ID and movie description and click Save. These are all optional, you can simply ignore them if you don’t know about the details.

Enter movie details in Streama
We have added the movie details, but we haven’t added the actual movie yet. To do so, click on the red box in the bottom that says – “No video file yet! Drop file or Click here to add”.

Upload movie in Streama
You could either drag and drop the movie file inside this dashboard or click on the red box to manually upload it.
Choose the movie file to upload and click Upload.
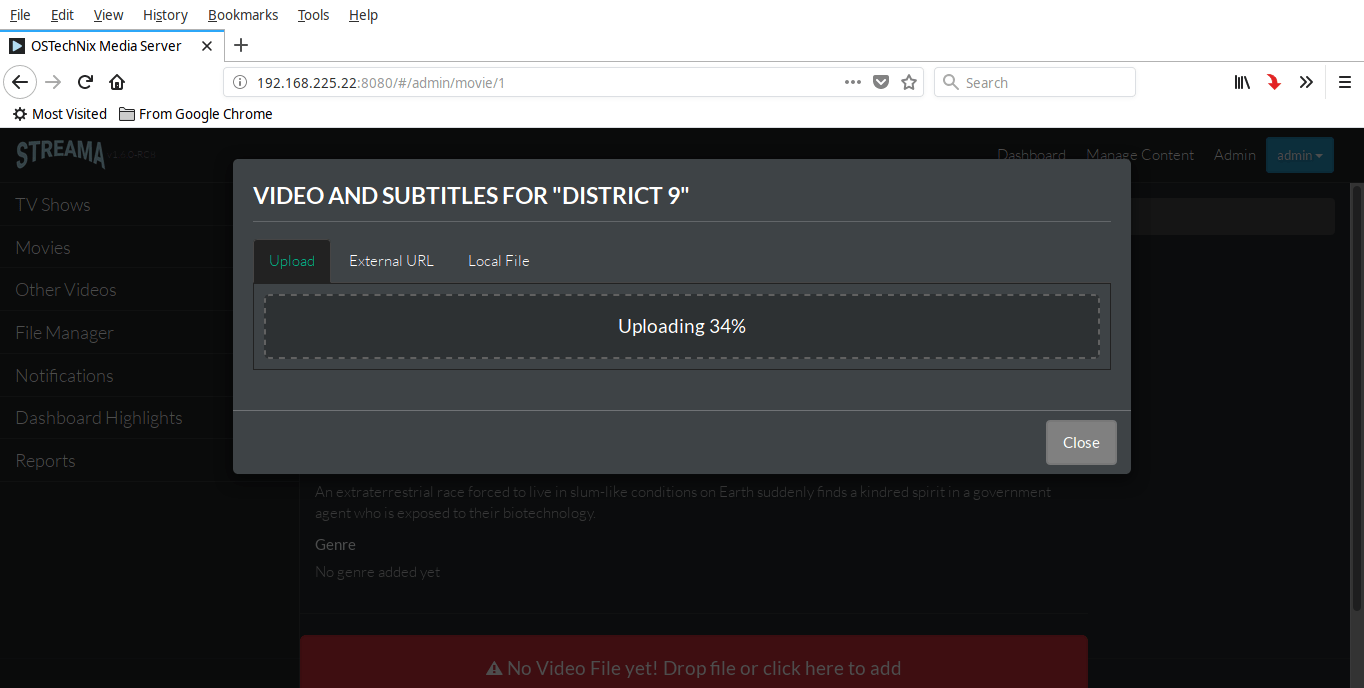
Uploading movie in Streama
Once the upload is completed, you could see the uploaded movie details. Click on the three horizontal lines next to the movie if you want to edit/modify movie details.

Edit movie details in Streama
Similarly, you can create TV shows, videos and audios.
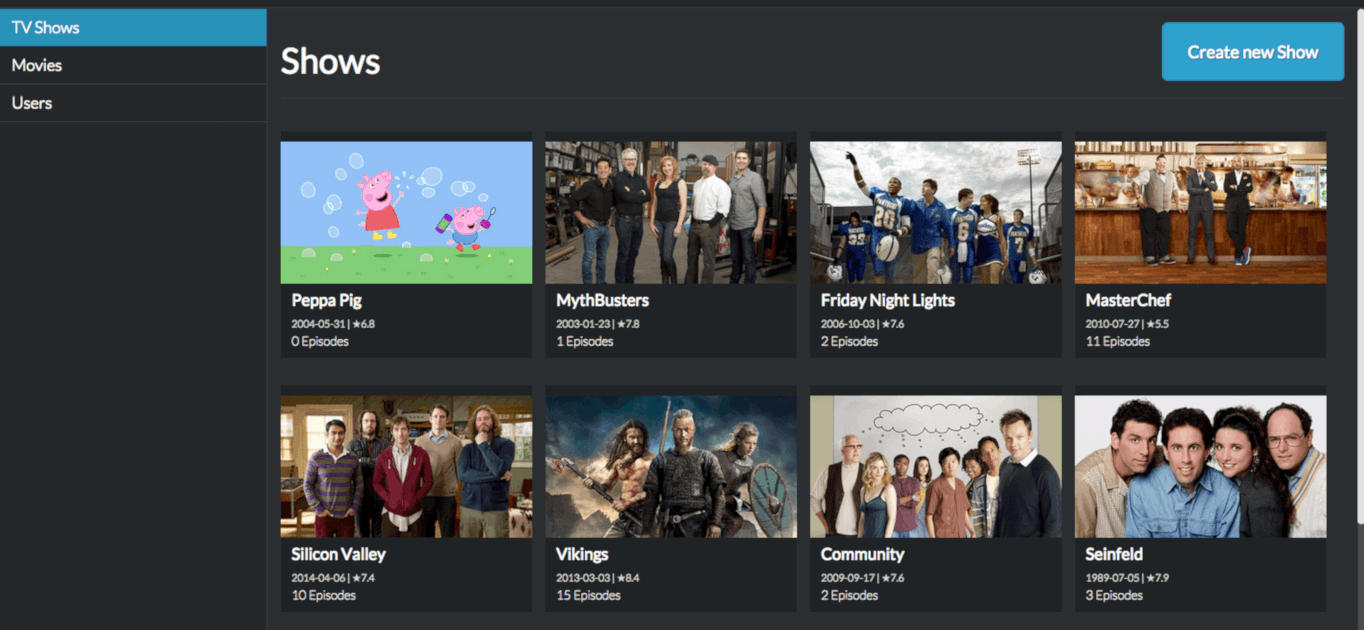
TV Shows collection in Streama
And also the movies/shows are started to appear in the home screen of your dashboard. Simply click on it to play the video and enjoy Netflix experience right from your Linux desktop.
For more details, refer the product’s official website.
And, that’s all for now. Hope this was useful. More good stuffs to come. Stay tuned!
Cheers!
Resource:
No comments:
Post a Comment