How To Install Tomcat 8 On Ubuntu 14.04 And 14.10

Apache Tomcat is an open source software implementation of the Java Servlet and JavaServer Pages technologies. The Java Servlet and JavaServer Pages specifications are developed under the Java Community Process. Apache Tomcat is developed in an open and participatory environment and released under the Apache License version 2. Apache Tomcat is intended to be a collaboration of the best-of-breed developers from around the world. Apache Tomcat powers numerous large-scale, mission-critical web applications across a diverse range of industries and organizations.
and organizations.Install Tomcat 8 on Ubuntu
In this tutorial, let us see how to install Tomcat 8 on Ubuntu 14.04 and 14.10. Also, the same method will work on other Ubuntu derivatives.
My machine:
Linux ubuntu 3.16.0-30-generic #40~14.04.1-Ubuntu SMP Thu Jan 15 17:43:14 UTC 2015 x86_64 x86_64 x86_64 GNU/Linux
My Ip = 192.168.64.130
Install OpenJDK:
Install Java using command:
unixmen@ubuntu:~$ sudo apt-get install openjdk-7-jdk
You can also verify it, by issuing the following command.
unixmen@ubuntu:~# java -version
java version "1.7.0_75"
OpenJDK Runtime Environment (IcedTea 2.5.4) (7u75-2.5.4-1~trusty1)
OpenJDK 64-Bit Server VM (build 24.75-b04, mixed mode)
Download & Setup Apache Tomcat:
Download the latest version of the Apache Tomcat from the website and save it on your home directory.
unixmen@ubuntu:~$ wget http://www.apache.org/dist/tomcat/tomcat-8/v8.0.21/bin/apache-tomcat-8.0.21.tar.gz
unixmen@ubuntu:~# wget http://www.apache.org/dist/tomcat/tomcat-8/v8.0.21/bin/apache-tomcat-8.0.21.tar.gz
--2015-03-29 15:37:40-- http://www.apache.org/dist/tomcat/tomcat-8/v8.0.21/bin/apache-tomcat-8.0.21.tar.gz
Resolving www.apache.org (www.apache.org)... 104.130.219.184, 88.198.26.2, 192.87.106.229, ...
Connecting to www.apache.org (www.apache.org)|104.130.219.184|:80... connected.
HTTP request sent, awaiting response... 200 OK
Length: 9146280 (8.7M) [application/x-gzip]
Saving to: ‘apache-tomcat-8.0.21.tar.gz’
100%[===================================================================>] 9,146,280 1.70MB/s in 5.7s
2015-03-29 15:37:46 (1.54 MB/s) - ‘apache-tomcat-8.0.21.tar.gz’ saved [9146280/9146280]
Extract tomcat to /var/local/:
unixmen@ubuntu:~$ sudo tar -zxvf apache-tomcat-8.0.21.tar.gz -C /var/local/
Controlling Apache Tomcat:
Apache Tomcat can be started and stopped by the script which comes with package, start the Apache Tomcat.
unixmen@ubuntu:~# sudo /var/local/apache-tomcat-8.0.21/bin/startup.sh
Using CATALINA_BASE: /var/local/apache-tomcat-8.0.21
Using CATALINA_HOME: /var/local/apache-tomcat-8.0.21
Using CATALINA_TMPDIR: /var/local/apache-tomcat-8.0.21/temp
Using JRE_HOME: /usr
Using CLASSPATH: /var/local/apache-tomcat-8.0.21/bin/bootstrap.jar:/var/local/apache-tomcat-8.0.21/bin/tomcat-juli.jar
Tomcat started.
unixmen@ubuntu:~#
You can verify the service running, by default tomcat runs on port no 8080.
unixmen@ubuntu:~# sudo netstat -tulpn | grep 8080
tcp6 0 0 :::8080 :::* LISTEN 23967/java
unixmen@ubuntu:~#
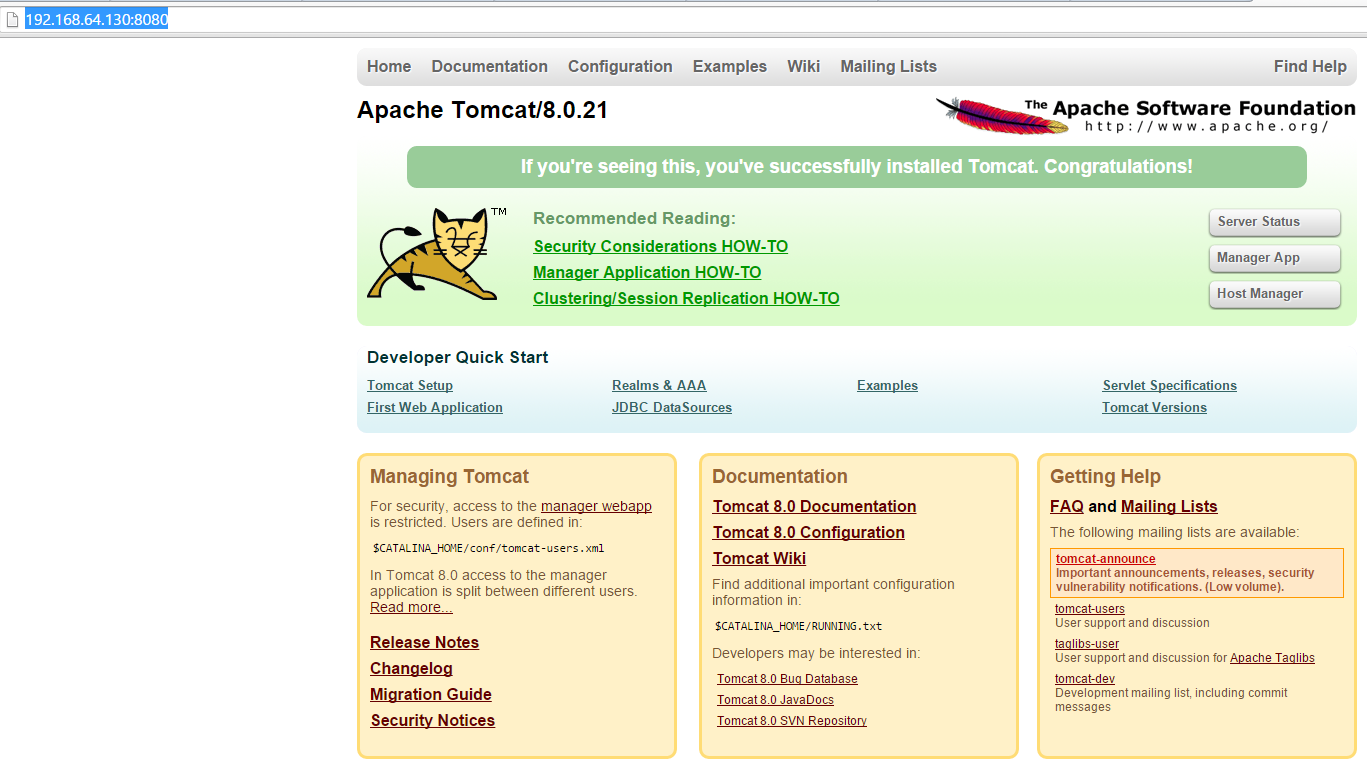
Open the web browser and point to http://ipaddress:8080
How to stop the Apache Tomcat?
unixmen@ubuntu:~$ sudo /var/local/apache-tomcat-8.0.21/bin/shutdown.sh
Managing the Apache Tomcat:
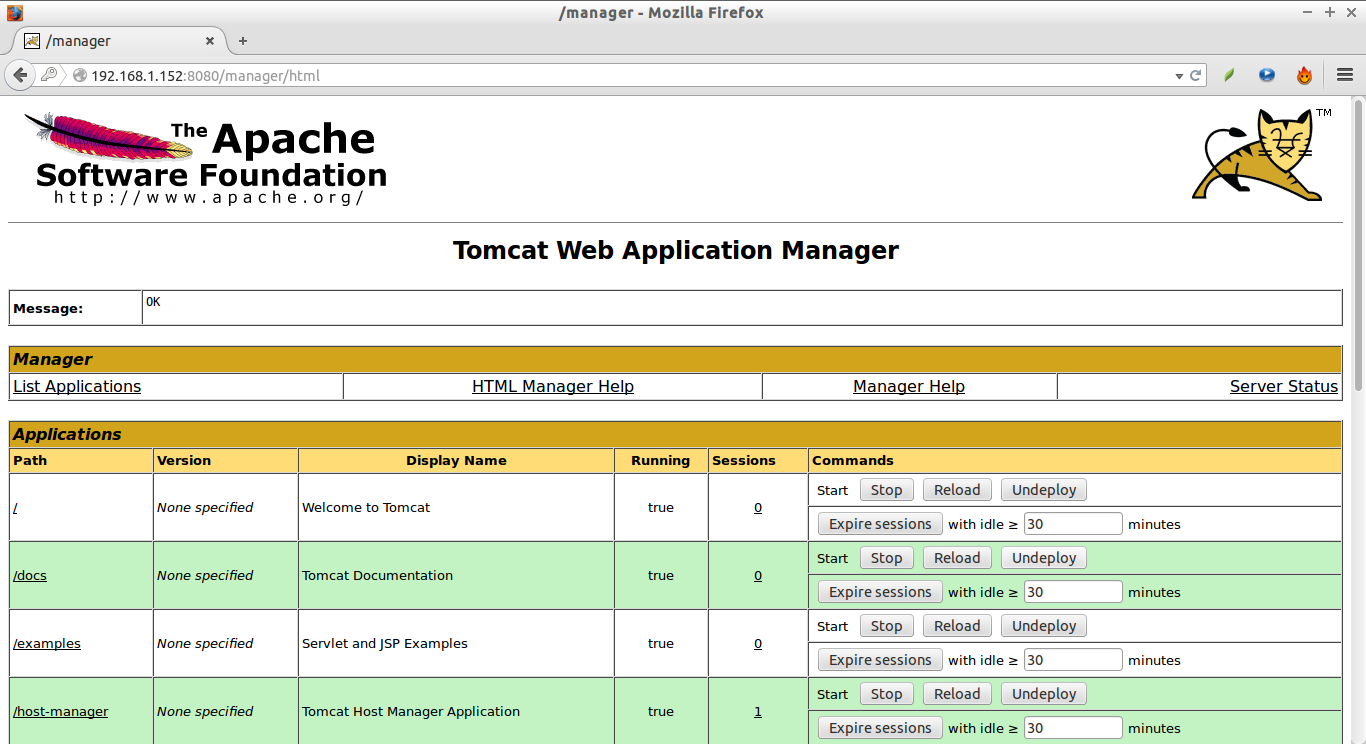
Tomcat can be managed through the web-manager.
Web manager is password protected, requires user name and password to access. Only the user with the “manager-gui” role is allowed to access, these users and roles are defined in tomcat-users.xml. By default “manager-gui” role not defined that file, you have to add it manually.
unixmen@ubuntu:~$ sudo vi /var/local/apache-tomcat-8.0.21/conf/tomcat-users.xml
Add the following:
<?xml version='1.0' encoding='utf-8'?>
<tomcat-users xmlns="http://tomcat.apache.org/xml"
              xmlns:xsi="http://www.w3.org/2001/XMLSchema-instance"
              xsi:schemaLocation="http://tomcat.apache.org/xml tomcat-users.xsd"
              version="1.0">
  <role rolename="tomcat"/>
  <role rolename="role1"/>
  <user username="tomcat" password="tomcat" roles="tomcat"/>
  <user username="both" password="tomcat" roles="tomcat,role1"/>
  <user username="role1" password="tomcat" roles="role1"/>
<role rolename="manager-gui"/>
<user username="tomcat" password="tomcat" roles="manager-gui"/>
</tomcat-users>
~
Restart the tomcat to have access to the web manager.

That’s it.
======================================================
How To Install Apache Ant, Maven And Tomcat On CentOS 7/6.5
Install Apache Ant
From the Ant homepage,
Apache Ant is a Java library and command-line tool whose mission is to drive processes described in build files as targets and extension points dependent upon each other. The main known usage of Ant is the build of Java applications. Ant supplies a number of built-in tasks allowing to compile, assemble, test and run Java applications. Ant can also be used effectively to build non Java applications, for instance C or C++ applications. More generally, Ant can be used to pilot any type of process which can be described in terms of targets and tasks.
Let us download the latest version from the project download page. At the time of writing this article, the latest stable Ant version was 1.9.4. For the purpose of this tutorial, I will be using Apache Ant binary file in zip format.
wget http://mirror.sdunix.com/apache//ant/binaries/apache-ant-1.9.4-bin.zip
Extract it using command:
unzip apache-ant-1.9.4-bin.zip
Move the extracted contents to /opt/ directory.
mv apache-ant-1.9.4/ /opt/ant
Make a symlink to ant/bin folder as shown below.
ln -s /opt/ant/bin/ant /usr/bin/ant
Setup ANT environment variable
Create a file called ant.sh under /etc/profile.d/ directory.
vi /etc/profile.d/ant.sh
Add the following contents:
#!/bin/bash
ANT_HOME=/opt/ant
PATH=$ANT_HOME/bin:$PATH
export PATH ANT_HOME
export CLASSPATH=.
Save and close the file. Make it executable using the following command.
chmod +x /etc/profile.d/ant.sh
Then, set the environment variables permanently by running the following command:
source /etc/profile.d/ant.sh
Log out or reboot your system.
Now, check the ant version using command:
ant -version
Sample output:
Apache Ant(TM) version 1.9.4 compiled on April 29 2014
Check the path and environment variables:
echo $ANT_HOME
Sample output:
/opt/ant
Or
echo $PATH
Sample output:
/usr/java/jdk1.8.0_25//bin:/opt/ant/bin:/usr/local/sbin:/usr/local/bin:/usr/sbin:/usr/bin:/root/bin
Install Maven
From the Apache maven project Homepage,
Apache Maven is a software project management and comprehension tool. Based on the concept of a project object model (POM), Maven can manage a project’s build, reporting and documentation from a central piece of information.
Let us download the latest version from the project download page. At the time of writing this article, the stable Ant version was 3.2.3. For the purpose of this tutorial, I will be using Apache Maven binary file in zip format.
wget http://www.eng.lsu.edu/mirrors/apache/maven/maven-3/3.2.3/binaries/apache-maven-3.2.3-bin.zip
Extract it using command:
unzip apache-maven-3.2.3-bin.zip
Move the extracted contents to /opt/ directory.
mv apache-maven-3.2.3/ /opt/maven
Make a symlink to maven/bin folder as shown below.
ln -s /opt/maven/bin/mvn /usr/bin/mvn
Setup Maven environment variable
Create a file called maven.sh under /etc/profile.d/ directory.
vi /etc/profile.d/maven.sh
Add the following contents:
#!/bin/bash
MAVEN_HOME=/opt/maven
PATH=$MAVEN_HOME/bin:$PATH
export PATH MAVEN_HOME
export CLASSPATH=.
Save and close the file. Make it executable using the following command.
chmod +x /etc/profile.d/maven.sh
Then, set the environment variables permanently by running the following command:
source /etc/profile.d/maven.sh
Log out or reboot your system.
Now, check the ant version using command:
mvn -version
Sample output:
Apache Maven 3.2.3 (33f8c3e1027c3ddde99d3cdebad2656a31e8fdf4; 2014-08-12T02:28:10+05:30) Maven home: /opt/maven Java version: 1.8.0_25, vendor: Oracle Corporation
Check the environment variables:
echo $MAVEN_HOME
Sample output:
/opt/maven
Or
echo $PATH
Sample output:
/opt/maven/bin:/usr/java/jdk1.8.0_25//bin:/opt/ant/bin:/usr/local/sbin:/usr/local/bin:/usr/sbin:/usr/bin:/root/bin
Install Tomcat
From the Apache Tomcat project home page,
Apache Tomcat is an open source software implementation of the Java Servlet and JavaServer Pages technologies. The Java Servlet and JavaServer Pages specifications are developed under the Java Community Process. Apache Tomcat is developed in an open and participatory environment and released under the Apache License version 2. Apache Tomcat is intended to be a collaboration of the best-of-breed developers from around the world. Apache Tomcat powers numerous large-scale, mission-critical web applications across a diverse range of industries and organizations.
First, download the latest version from the project download page. At the time of writing this article, the stable Tomcat version was 8.0.15. For the purpose of this tutorial, I will be using Apache Tomcat binary zip file.
wget http://mirror.sdunix.com/apache/tomcat/tomcat-8/v8.0.15/bin/apache-tomcat-8.0.15.zip
Extract it using command:
unzip apache-tomcat-8.0.15.zip
Move the extracted contents to /opt/ directory.
mv apache-tomcat-8.0.15/ /opt/tomcat
Setup Tomcat environment variable
Create a file called tomcat.sh under /etc/profile.d/ directory.
vi /etc/profile.d/tomcat.sh
Add the following contents:
#!/bin/bash
CATALINA_HOME=/opt/tomcat
PATH=$CATALINA_HOME/bin:$PATH
export PATH CATALINA_HOME
export CLASSPATH=.
Save and close the file. Make it executable using the following command.
chmod +x /etc/profile.d/tomcat.sh
Then, set the environment variables permanently by running the following command:
source /etc/profile.d/tomcat.sh
Now, we have to start the Tomcat server. Before starting Tomcat, give executable permission to the following script files.
chmod +x $CATALINA_HOME/bin/startup.sh
chmod +x $CATALINA_HOME/bin/shutdown.sh
chmod +x $CATALINA_HOME/bin/catalina.sh
Start Tomcat server by running the following command from your Terminal.
cd $CATALINA_HOME/bin
./startup.sh
Sample output:
Using CATALINA_BASE:   /opt/tomcat
Using CATALINA_HOME:   /opt/tomcat
Using CATALINA_TMPDIR: /opt/tomcat/temp
Using JRE_HOME:        /usr/java/jdk1.8.0_25/
Using CLASSPATH:       /opt/tomcat/bin/bootstrap.jar:/opt/tomcat/bin/tomcat-juli.jar
Tomcat started.
As you see in the above output, the Tomcat server has been started. Now, open up the browser and navigate to http://ip-address:8080/.
Make sure you’ve allowed the Tomcat default port 8080 through iptables.
On CentOS 6.x systems:
Edit file /etc/sysconfig/iptables,
vi /etc/sysconfig/iptables
Add the following line:
[...]
-A INPUT -m state --state NEW -m tcp -p tcp --dport 8080 -j ACCEPT
[...]
Save and close the file and restart the iptables service.
service iptables restart
On CentOS 7 systems:
firewall-cmd --permanent --add-port=8080/tcp
firewall-cmd --reload
Now, navigate to http://ip-address:8080 from your web browser. You should see the following screen.

Voila! Congratulations! The Tomcat server is up and working.
To stop the server, just enter the following commands:
cd $CATALINA_HOME/bin
./shutdown.sh
Autostart Tomcat
We haven’t finished yet. The Tomcat server won’t start after the system reboots. You have to make it to start it manually on every reboot.
If you want it to start automatically on every reboot, Just follow the steps given below.
Create a file called tomcat under /etc/init.d/ directory.
vi /etc/init.d/tomcat
Copy/paste the following lines in it. Replace the JAVA and Tomcat paths and environment variables with your own.
#!/bin/sh
# chkconfig: 2345 80 20

# Description: Tomcat Start/Shutdown script

export JAVA_HOME=/usr/java/jdk1.8.0_25

case $1 in
start)
cd /opt/tomcat/bin/
./startup.sh
;;
stop)
cd /opt/tomcat/bin/
./shutdown.sh
;;
restart)
cd /opt/tomcat/bin/
./shutdown.sh
cd /opt/tomcat/bin/
./startup.sh
;;
esac
exit 0
make sure you have added the correct path of the jdk. Save and close the file. Set executable permission to the above file.


chmod a+x /etc/init.d/tomcat
Run the following command to add the tomcat service.
chkconfig --add tomcat
NB: Add double dashes(–) in front of ‘add’ word.
Now, start the tomcat service and make it to start automatically as shown below.
On CentOS 6.x systems:
service tomcat start
chkconfig tomcat on
On CentOS 7 systems:
systemctl start tomcat
chkconfig tomcat on
Add Tomcat Manager Role
To add manager role, edit file tomcat-users.xml,
vi $CATALINA_HOME/conf/tomcat-users.xml
Add the following lines between <tomcat-users> … </tomcat-users> directive:
[...]
<role rolename="manager-gui"/>
<role rolename="manager-script"/>
<role rolename="manager-jmx"/>
<role rolename="manager-status"/>
<role rolename="admin-gui"/>
<role rolename="admin-script"/>
<user username="admin" password="admin" roles="manager-gui,manager-script,manager-jmx,manager-status,admin-gui,admin-script"/>
[...]
Restart tomcat service.
On CentOS 6.x systems:
service tomcat restart
On CentOS 7 systems:
systemctl restart tomcat
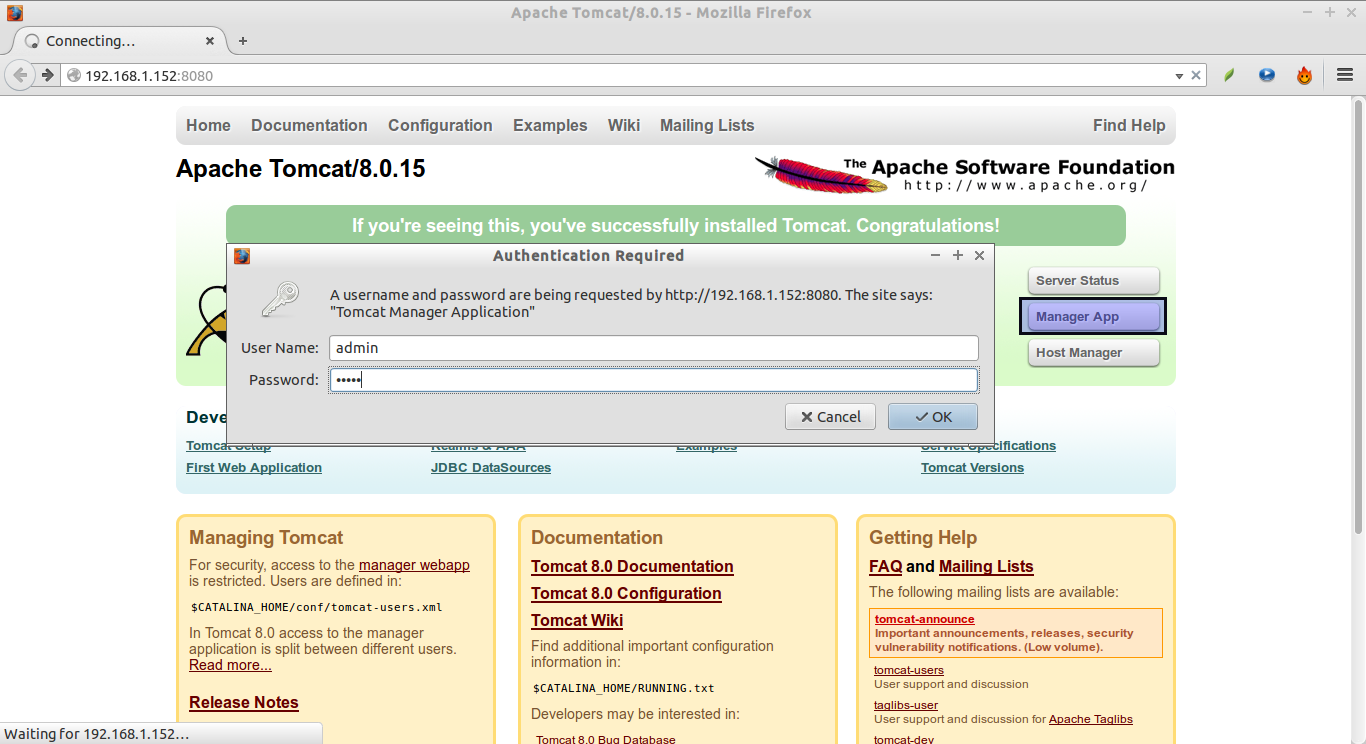
Click on the Manager app on the right side. Enter the manger role(As you see in the above tomcat-users.xml file, the manager role credentials are:
- Username: admin
- Password: admin
That’s all now. We have successfully installed the Apache siblings Ant, Maven, and Tomcat.
Cheers!
No comments:
Post a Comment