How to Install ‘IPFire’ Free Firewall Linux Distribution
IPFire is one of the high-level flexible firewall with great features such as other firewall’s. IPFire will work as a firewall, VPN gateway, Proxy server, DHCP server, Time server, Caching name server, Wake-On-LAN, DDNS, Open VPN, Monitoring etc..

IPFire Firewall Installation Guide
IPFire is released under GPL license and totally designed to use free. The developers keep the key things as security while the IPFire was build. Since IPFire will connect directly to the internet, due to this, there will be chances for hackers and threats to attack it. To avoid those threats and attacks Pakfire package manager helps administrators to keep the the packages database up-to-date in IPFire.
Basically IPfire was build using a super kernel with various threat, attacks, detect and compromise features and have a rich Graphical interface to use. IPfire have the feature to use samba and vsftpd file services. IPFire supports VDSL, ADSL, SDSL, Ethernet, 4G/3G type of dialups.
We can use IPFire in any kind of Virtual Environments such as KVM, VMware, XEN, Qemu, Microsoft Hyper-v, Oracle virtual box, Proxmox etc. and can be run in ARM Processor build machine’s such as Raspberry pi.
During IPFire installation, the network is configured into various different segments. These segmented security scheme indicates that there is a suitable place for each system in the network and can be enabled separately as per our requirements. Each segment act as a group of machines who share a common security level, which is described in four different colors of zones i.e. Green, Red, Blue, Orange.
- Green – This represents we are in a safe area. Client in Green area will be without any restrictions and connected Internal/locally.
- Red – This indicates that we are in a danger or the connection to the outside world, nothing will be allowed from firewall unless configured specially by the admins
- Blue – This represents the “wireless” network, which is used for local area network.
- Orange – This referred to as we are in “DMZ” demilitarized zone. Any servers which are accessible publicly are aparted from the rest of the network to minimize security breaches.
IPFire recently released it’s 2.15 Core update 86 version, which comes with the new graphical user interface that was completely re-designed and comes with massive new functionality.
IPFire Hardware Requirements
- Minimum i586 CPU (Intel Pentium 333 MHz).
- Minimum 256 MB of RAM, Recommended 512 MB.
- Minimum 1 GB of Hard disk Space, Recommended 2 GB, More size will be good.
- Minimum 2 Network cards with 1 GB transfer speed.
My Environment Setup
This article covers installation of IPFire with the things that you will need to configure during installation. The installation and configuration procedure will note take more than 10 to 15 minutes depending on the speed of your computer.
Step 1: IPFire Installation
1. Before heading up for the IPFire installation, make sure that your hardware is compatible with IPFire. Next, go the official IPFire Download page and grab the IPFire ISO image as per your requirements. This article covers the installation of IPFire using most popular method CD/DVD.
Alternatively, you can also use USB installation of IPFire, but you need to make your USB media as bootable image using Unetbootin tool.
2. After downloading ISO image, next burn the image to media like CD/DVD or USB and boot the media and choose Install IPFire 2.15 to start the installation.
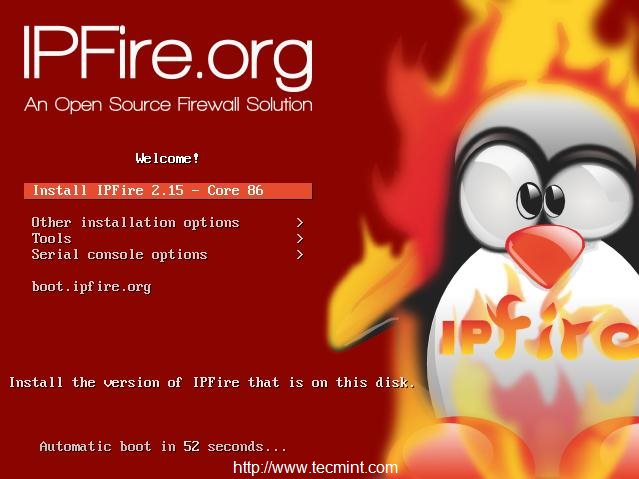
Choose Install IPFire
3. Next, choose the Language as respective to your region.
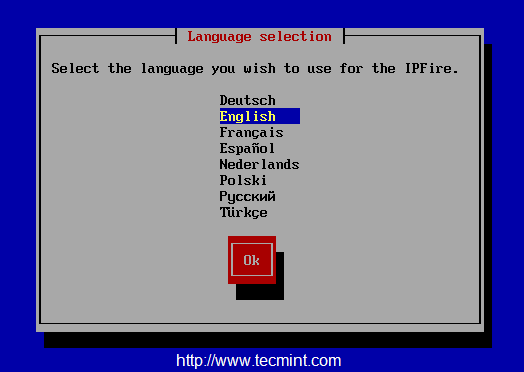
Select Language
4. At this step, you can see that, if you not wish to continue the setup you can Cancel setup and reboot the machine.
IPFire Welcome Screen
5. Accept for the license by pressing Space bar to choose, and press OK to continue.
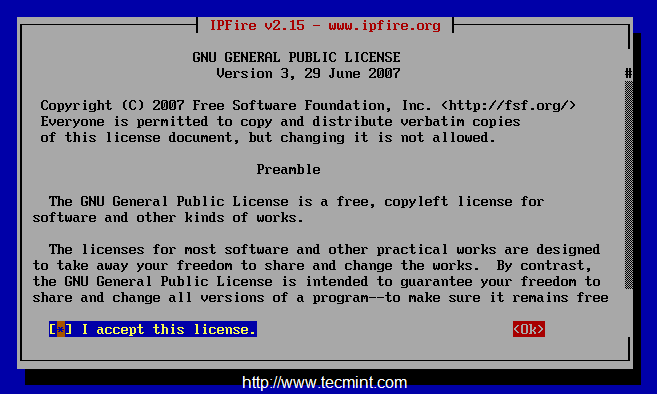
Select IPFire License
6. In this step a warning will be raised as the data in the selected disk will be destroyed if we continue the installation. Choose Yes to get install IPFire and choose OK.
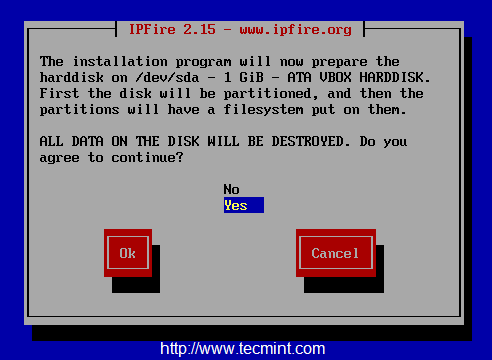
Prepare Disk for IPFire Installation
7. Next, choose the file system as EXT4 and continue to the future steps.
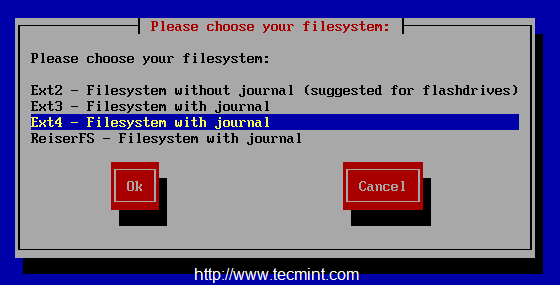
Select Filesystem Type
8. Once, you selected filesystem type, the installation begins and disk will be formatted and system files will be get installed.

IPFire Installation
9. Once installation completes, press OK to reboot to finalize the installation and continue with the further installation to configure ISDN, networks cards and system passwords.
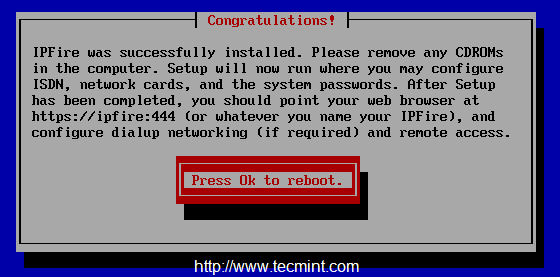
IPFire Installation Completed
10. After system reboot, it will prompt you IPFire boot menu option, select the default option by pressing enter key.

Boot IPFire
11. Next, select the type of Keyboard mapping Language from the drop-down list as shown below.
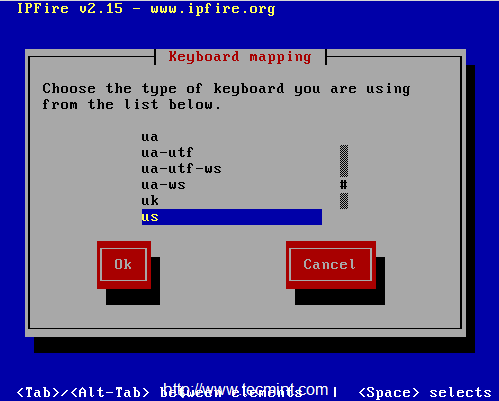
Choose Keyboard Language
12. Next, choose the timezone from the list, Here I’ve choose “India” as my timezone region.
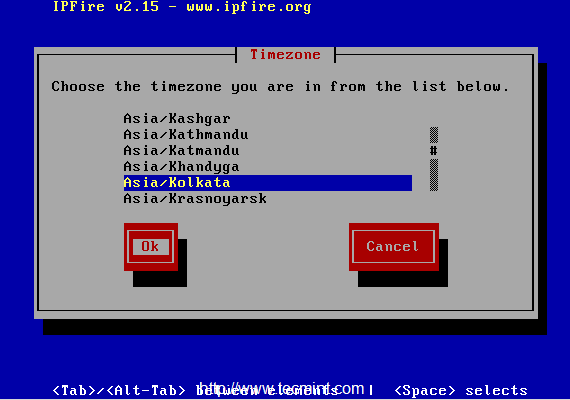
Choose IPFire Timezone
13. Choose a host name for our IPFirewall machine. By default it will be ipfire. I’m not going to make any changes in this steps.
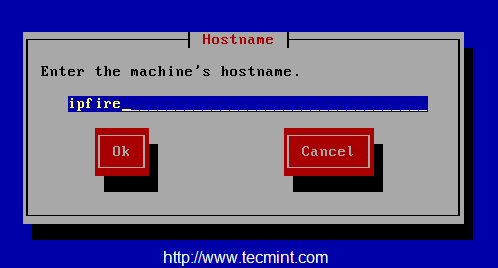
Set Hostname
14. Give a valid domain name, if you have a local DNS server or we can define it later. Here, I am using “tecmintlocal” as my local DNS server domain name.

Set Domain Name
15. Enter a password for root user, This will be used for Command-line access. I have used redhat123$as my password.
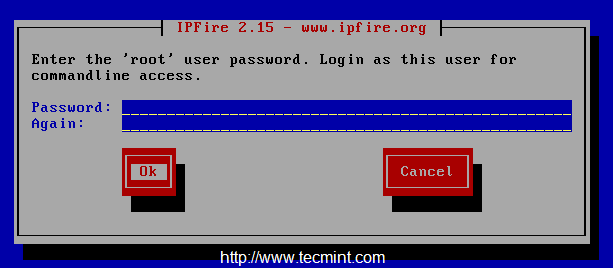
Set IPFire root Password
16. Now here we need to provide a Password for admin user for IPFire GUI web interface. The password must be different from the command line access credentials for security reason’s.
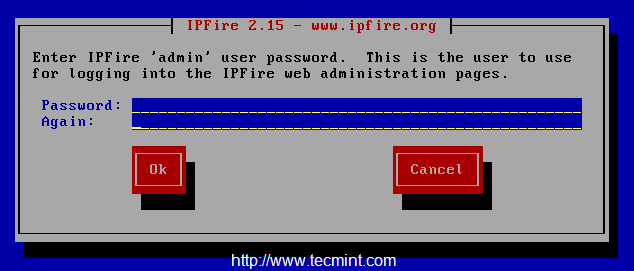
Set IPFire Web Password
Step 2: IPFire Network Configuration Settings
17. Here, we are using 2 Ethernet cards in our system. Each Ethernet card needs to be assigned separately for each network, by default it will choose GREEN + RED that means It connects to the local area network and WAN connection with Internet access.

IPFire Network Configuration
18. Next, select GREEN + RED color for our two network cards and choose Ok to continue.

Select IPFire Network Type
Now we can see the current config as GREEN + RED it’s with local, WAN.
Step 3: IPFire Drivers and Card Assignments
19. From here, choose Drivers and card assignments type to choose the Network, which is going to assign for LAN and WAN interfaces.

Select Drivers and Cards
20. Next, choose GREEN and press Select to enable a Interface for all two network cards.

Select Network Interface

Enable Network Interface
21. Repeat same above steps for RED interfaces and at final step we can see as below.

Assign Red Network Interface
Step 5: Assign IP Addresses for Network Interfaces
22. Now time to assign IP address for each interfaces. Here we have only 2 interfaces and we need to assign IP address in different sub-net.
If we using 192.168.0.100 for RED interface, we must use different IP and network for other interface. For RED interface we going to use DHCP.

Select Address Settings
- GREEN interface – 192.168.1.1
- RED interface – DHCP
23. Choose GREEN and provide the IP, While choosing we will get a Warning that our Local area connection will be dropped if we change the IP.
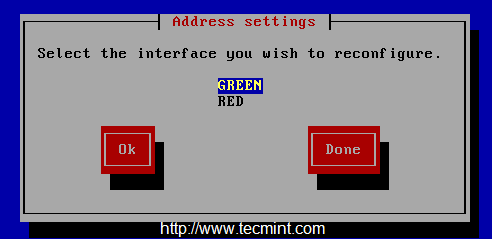
Select Green Interface
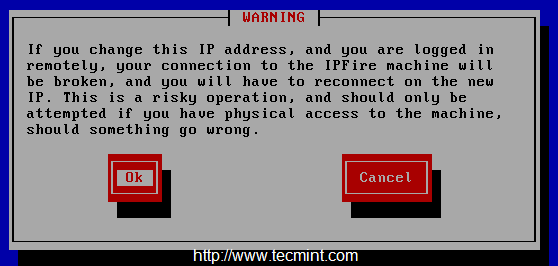
IP Change Warning
24. Next, provide the IP 192.168.1.1 for GREEN network interface for our Local/Internal network.

Set IP Address For Green
25. Choose RED interface and choose DHCP to get a IP from our ISP are we can assign a manual IP. This is our WAN interface which expose to the Internet.
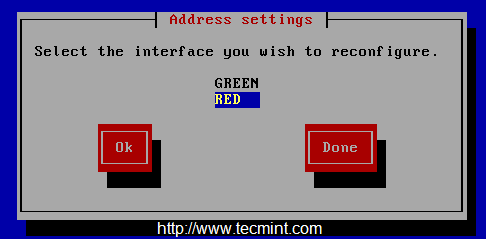
Set DHCP IP Address
26. Here we need to configure whether our internet connection with a Static IP or PPPOE or DIALUP method. I’m using DHCP for WAN interface. Choose Ok and save it by choosing DONE.
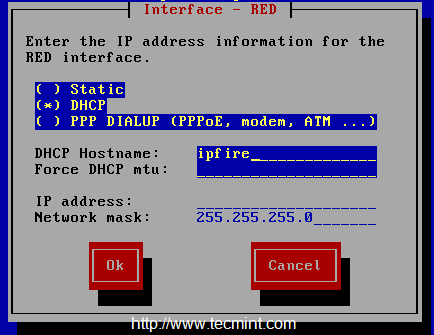
Configure Internet Connection
Step 6: Set DNS and Gateway Settings
27. Choose DNS and Gateway Settings to configure the DNS and gateway. Here we can provide a Manual DNS or it will get assigned because we used DHCP in above step. If you need to be relief from these headache? Just leave this blank.

Select DNS and Gateway

DNS IP Settings
Choose DONE to exit from DNS settings.
Step 7: DHCP server Configuration
28. We need to configure DHCP settings for our GREEN interface for LOCAL/INTERNAL interface. To get IP for client machine’s from DHCP.
DHCP pool range will be from 192.168.1.2 to 192.168.1.100
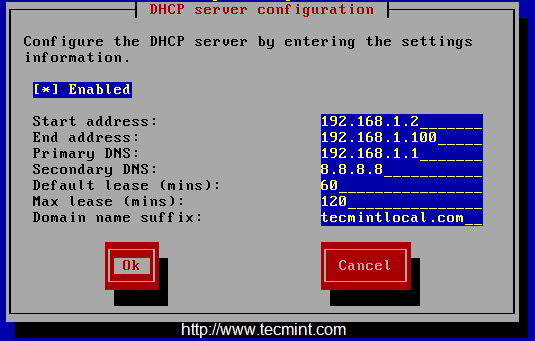
Configure DHCP Settings
29. We are almost completed our setup, Choose OK to complete IPFire setup.
IPFire Setup Completed
Step 8: Post Installation Setup
30. After reboot, we will get the Command line access using root credentials which we provided during setup at step #15 above.
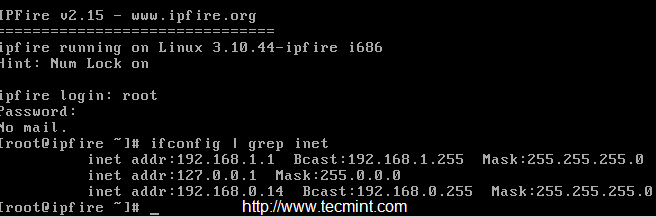
IPFire Commandline Access
31. To access the web interface use the below URL, Which we used for the GREEN interface local/internal will be used for the WEB interface. Enter the username as “admin” and password that we’ve set at #step 16 above.

IPFire Web Access
32. Once you logged in, you will get the Dashboard of the web Interface in IPFire.
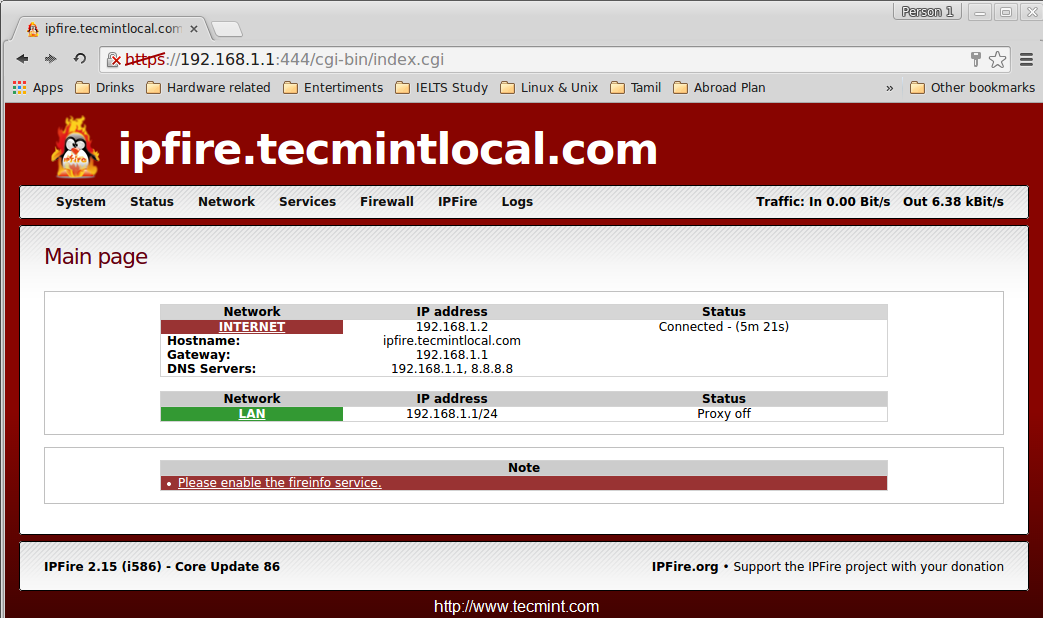
IPFire Dashboard
There are many features included in IPFire they are as follows, Web Proxy with squid, URL filter, Update accelerator, DHCP server, Connection scheduler, DNS Server, DNS forwarding, Static Routes, Wake-ON-LAN, Open VPN, Dynamic DNS (DDNS), Time server, Bandwidth monitoring, Memory usage, Log collector for every services, Syslog, Firewall rules, P2P networks, iptables, Backup options and restore for configurations, Shutdown etc..
Following are the screen shots of IPFire features.
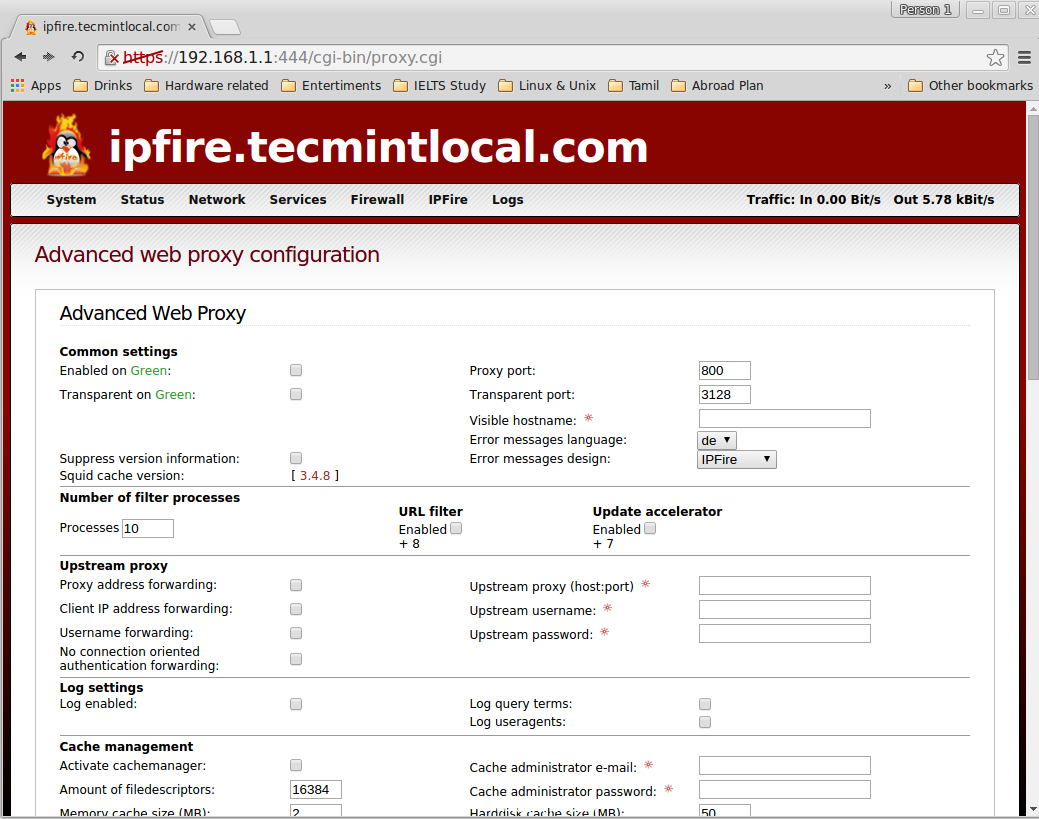
Advanced Web Proxy

URL Filter Configuration

DHCP Configuration
Iptables Connection Tracking
Conclusion
We have seen how to protect our office or home network with IPFire firewall/Router, IPFire was a German based Linux distribution only focused on security. Hope you have found this article simple and easy to install and configure firewall for your office or home environment. Don’t forget to fire your comments below after working around with IPFire..
No comments:
Post a Comment