Camicri Cube – Installing Packages On Offline Ubuntu Systems
As far as I tested, it was one of the easiest way for installing
packages on offline Ubuntu systems. However, there is a limitation in
that method. You can only download and install the software for the
same Ubuntu version.
In other words, If you download a package in Ubuntu 14.04, and try to
install it on Ubuntu 16.04 LTS, It will not work. So, the online and
offline should be the same version and architecture. Also, that method
is meant for the systems that have slow Internet connection. Your
offline system still need Internet connection to install Synaptic
package manager if it not installed already. So that is not a viable
solution to install packages on an offline system. Don’t be
disappointed! There is an another way to install packages in an offline
Ubuntu system. Meet
Camicri Cube, a portable package
manager to download applications on any internet connected computers
(Ubuntu Linux or Windows), and install them back on your offline
computer. Sounds great? Yes!
What exactly will Camicri Cube do?
Camicri Cube is a package manager similar to Synaptic or Ubuntu
software center, but it is portable one. With Camicri Cube, we can
download all packages along with required dependencies from any Internet
connected systems and copy those downloaded packages in an external or
USB hard drive, and install them back in an non-internet connected
system. No installation required! All files in a single directory, so
you can transfer them via an USB drive to any systems and install the
packages with few mouse clicks. Camicri Cube is completely free, open
source server-side application built in combination of Vala and Vue.
In this tutorial, I will explain how to install Camicri Cube and how to install packages in an offline Ubuntu system using it.
Camicri Cube – Installing Packages On Offline Ubuntu Systems
Requirements
You need two systems. One system must be connected to Internet to
download the packages. The another system can be either completely
offline or slow internet speed system.
For the purpose this guide, I will be using the following systems.
- Online (Internet connected) system running with Ubuntu 14.04 LTS desktop.
- Offline system running with Ubuntu 16.04 LTS desktop.
- An External or USB drive with sufficient space.
This method consists of four steps. In first step, we download and
copy Camicri Cube application to a external/usb drive from an Online
system. In step two, we are going to download the package and repository
lists (Note – package and repository lists, not actual packages) using
Camicri Cube application in offline system and save them in external/usb
drive. In step three, we download the packages and save them in
external/drive from the online system. In forth and final step, we are
going to install the downloaded packages in the offline system. Clear?
Good! Let us get started.
1. Steps to do in Online system (14.04 LTS desktop)
From the online system (Ubuntu 14.04 LTS in our case), get the latest
Camicri cube portable application from any one of the the below links.
Once downloaded, go to the location where you have downloaded the zip
archive file and extract it. All contents of the zip file will
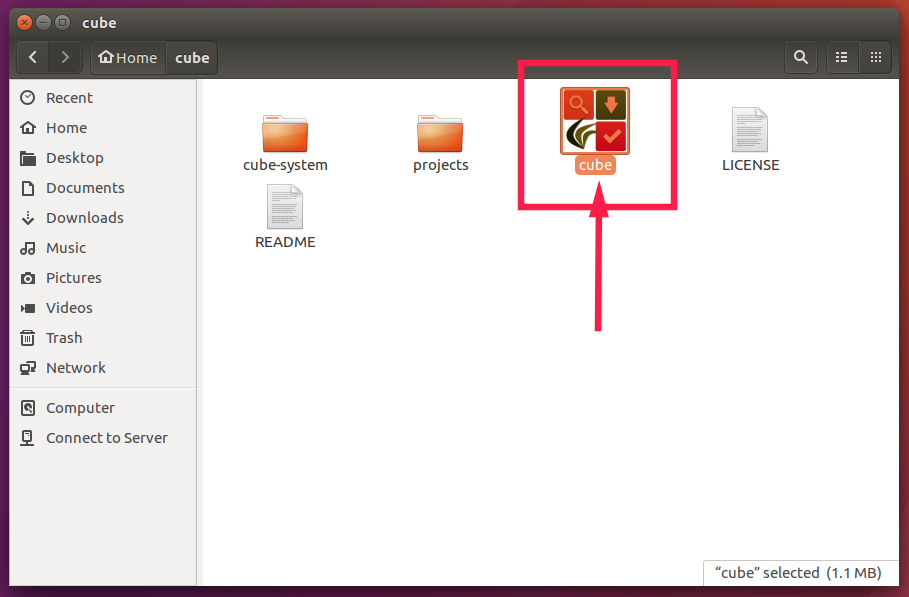
extracted to a folder named “cube”.
Go to the cube folder. You will see the following inside this folder.
- cube-system – where Cube’s system files are stored.
- projects – where your project files will be stored.
- cube – Cube’s application executable.
Copy entire “cube” folder in your external/usb drive and go to your offline system.
2. Steps to do in offline system (16.04 LTS desktop)
Plug in the external/usb drive and copy
cube folder to any location of your choice. Go to the cube folder and double click the
cube executable file to launch it.
If it doesn’t start, do the following. Open Terminal and switch to the cube folder.
cd cube
Make the cube application file as executable:
chmod +x cube
Then, launch it using command:
./cube --terminal
Cube application will be started in your default web browser.
Now we need to create a new project file. The project file will
contain your offline Linux computer’s repository list and installed
packages. This data will be used by Cube in determining packages
compatible in your system to be downloaded and installed. All Projects
created in cube will be saved in
cube/projects directory.
Enter a name for your new project and click
Create. If you have created only one project, it will be automatically selected in the Projects drop-down box, so just click
Open to load your project. If you have more than projects, you will have to choose one from the drop down list.

Cube will read your Ubuntu system’s repositories to check for all
available, installed and needs to be updated packages. Once done, you
will see the cube’s main interface.

Since it is offline system, we can’t download or install anything at this moment. So exit Camicri cube application.
To do so, click on the cube icon on the top left and click
Quit.

Plug in your external/usb drive. On the project’s folder
cube/projects, copy the newly created project folder and transfer it to your removable device.

If both systems are accessible via LAN, you can transfer the files via SSH or any file transfer medium/application.
Now go back to the online system.
3. Steps to do in Online system (14.04 LTS desktop)
Transfer the newly created project (i.e ostechnix) inside cube/projects folder from your removable device.
Then, navigate to cube folder and launch cube application.
Now, you will see the project is listed there. Just click
Open to load the project.
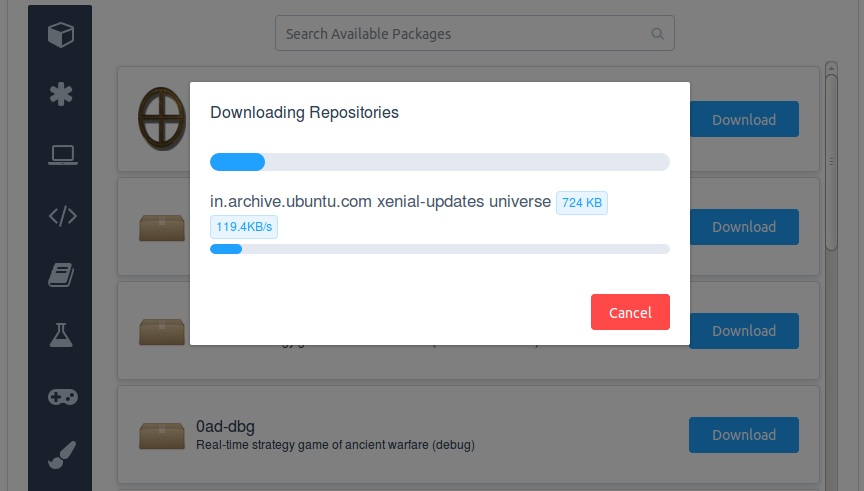
 Download Repositories
First, we need to download the repositories (In this case, we are
downloading Ubuntu 16.04 system’s repositories, not Ubuntu 14.04
system).
To do so, go to
Cube -> Repository -> Download Repositories to download new repositories.

Now Cube will start to download the repositories.
Once the download completed, you will be prompted to update the
repositories in your original (i.e offline) system. We will do this
later when we go back to our offline system. Click
Close to close this dialog box.
 Downloading packages
Before downloading new or any specific packages, we must update the existing packages.
To do so, click on the
Asterisk button on the left and choose
Upgradable.
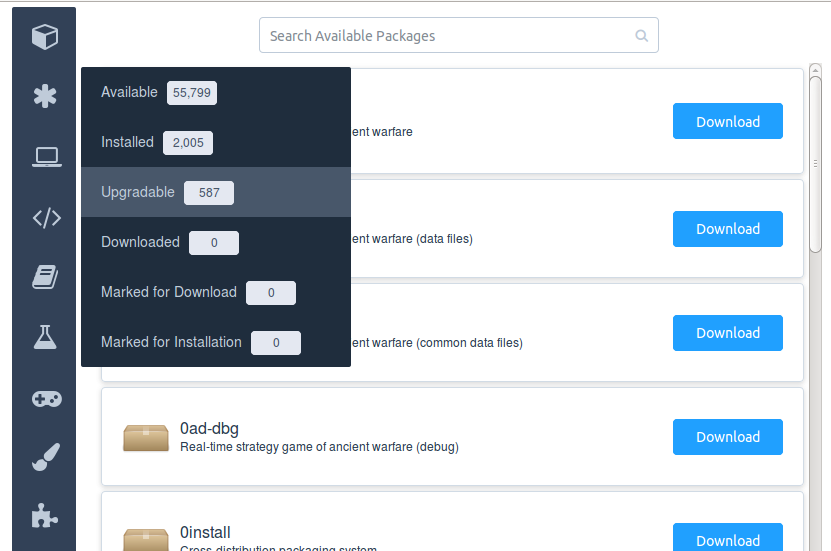
You will now see the list of packages that needs to be updated.
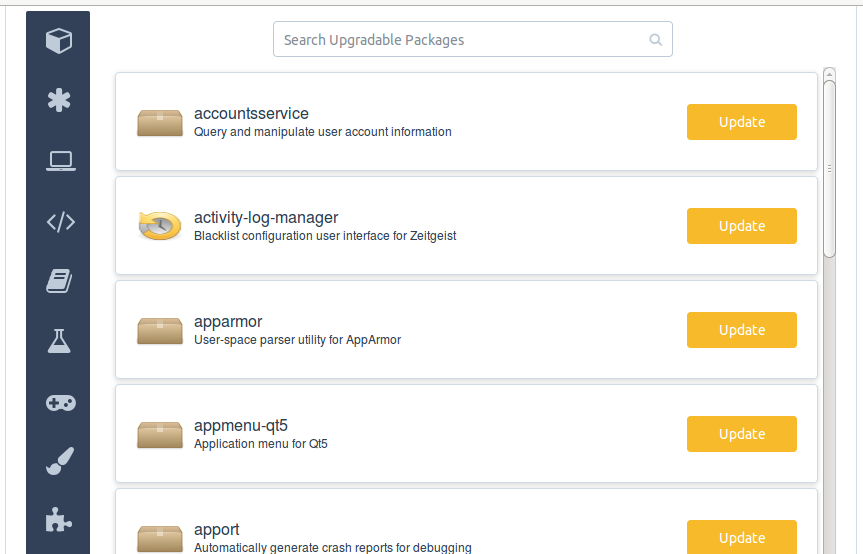
Then, click on
Cube -> Download -> Mark All Updates for Download to mark all packages that needs to be updated.

Now you will gre color check mark on every packages that needs to be updated.

To unmark all selected packages, click
Cube -> Download -> Unmark All for Download.
Now, we have marked the packages for download. You can click on the
check mark to unmark a package if you don’t want to download it.
After you marked all updates, click on
Cube -> Download -> Download All Marked Packages to start downloading.

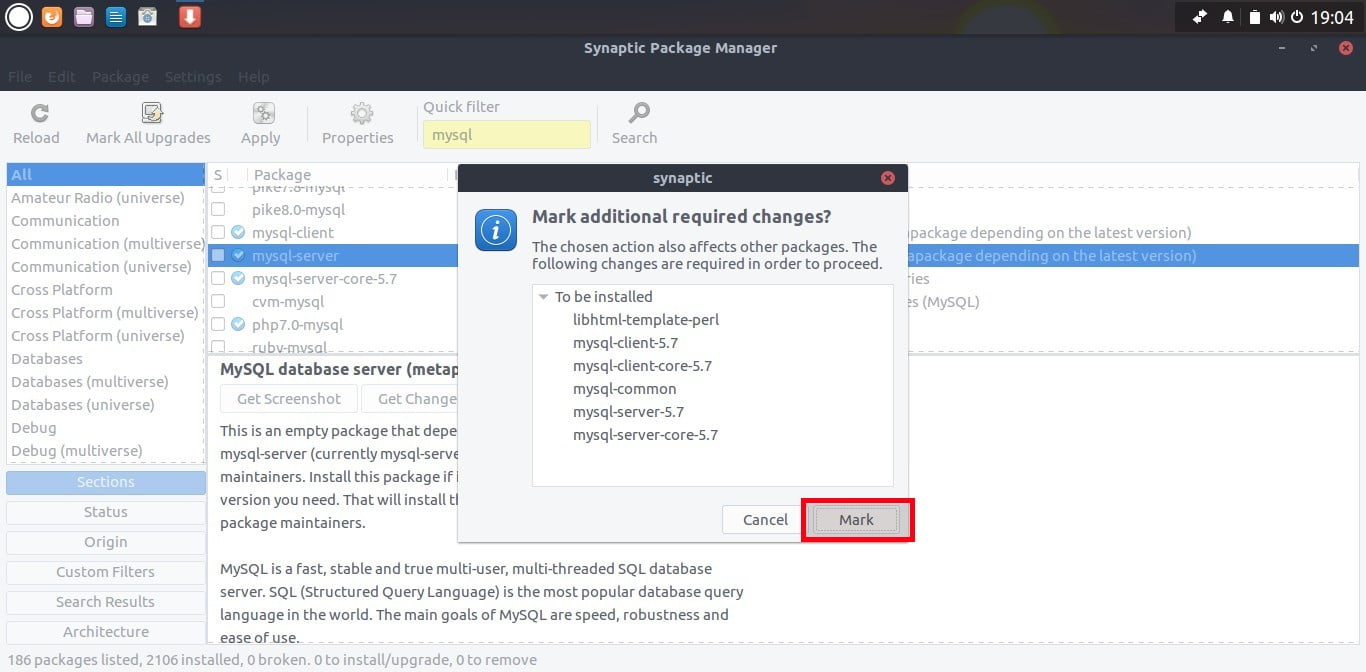
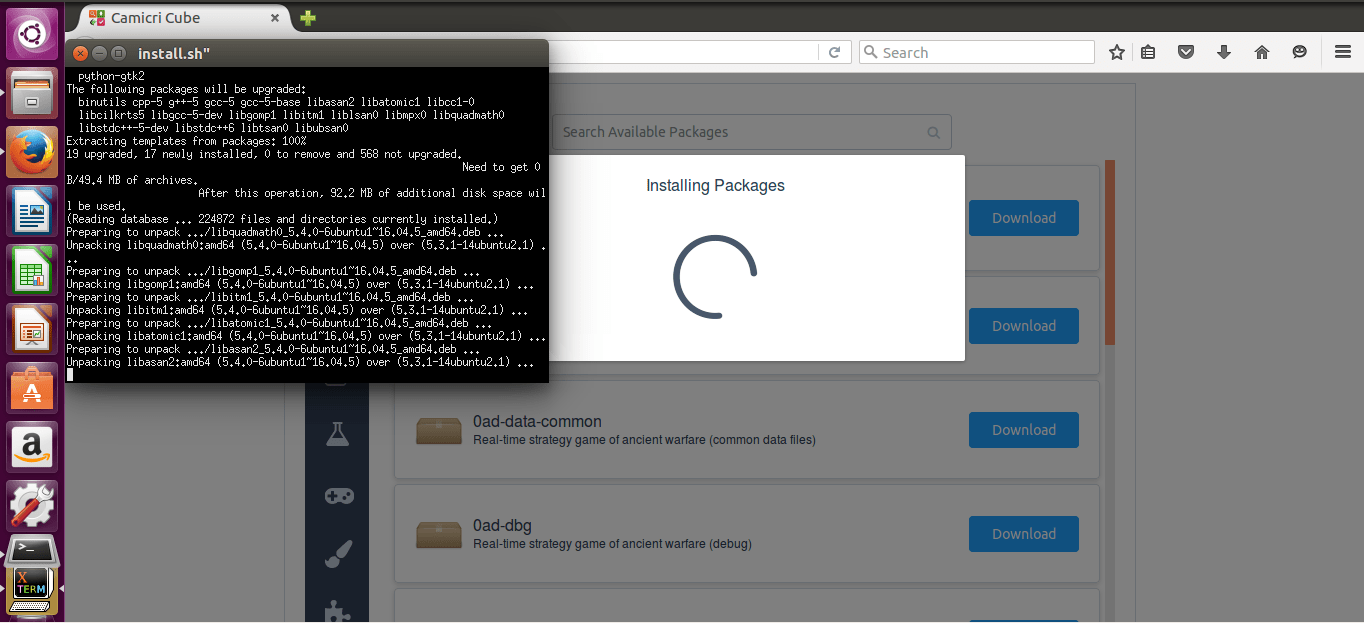
You will see package selection summary. Click Continue to start
downloading the packages that needs to be updated. It will take a while
depending upon the Internet speed and number of available updates.
Now, We have downloaded all available updates. It is time to download
the new packages. If you don’t want to download, just close the Cube
application, copy the project’s folder in your removable device and go
to step 4. Just in case you want to install a new package on your
offline system, read on.
Search individual packages to install
We can search for packages in two ways, either from the search box on
the top or from the list of categories provided on the left pane.
To search for a package, just enter its name in the search box. You
can either use the full or only the part of the name to search for a
specific package. I am going to search for gimp box, so I typed gimp in
the search box.
Click the Download button. You will see a brief description of the
selected application. Click Download again to start downloading.

To mark multiple packages, hover the mouse over the Download button and click on the green color tick mark.

Then, click on
Cube -> Download -> Download All Marked Packages to start downloading.

Similarly, you can select and download as many as applications you
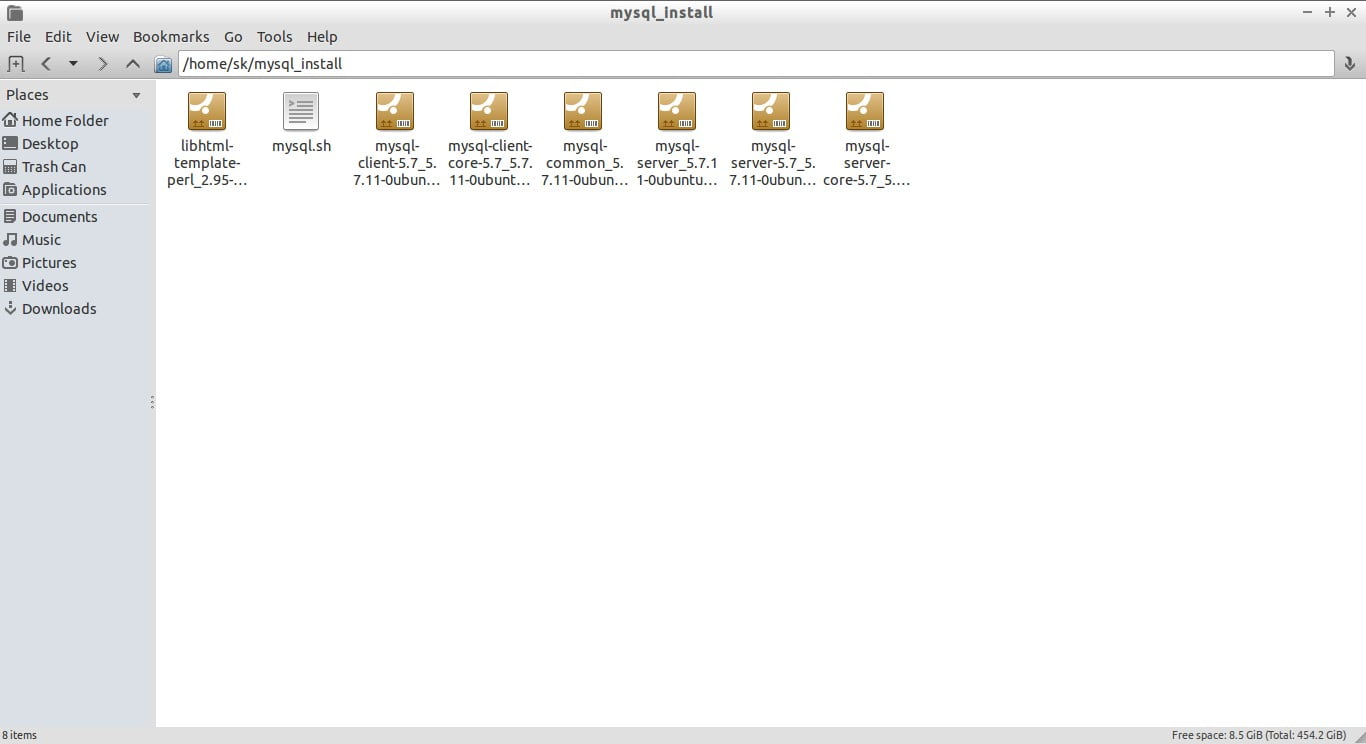
want. Once you have downloaded all packages, copy the project’s folder
(ostechnix in our case) in your removable device and go back to your
offline system. If the project’s folder is too big, compress and
transfer it to your removable devices.
4. Steps to do in offline system (16.04 LTS desktop)
On
cube/projects folder, delete the old project and replace it with the new project. Then launch cube application.
Remember we have downloaded new repositories? We need to update them now. To do so, Click
Cube -> System -> Update Computer’s Repositories.

Now, it is time to install the downloaded updates and new packages.
Install updates
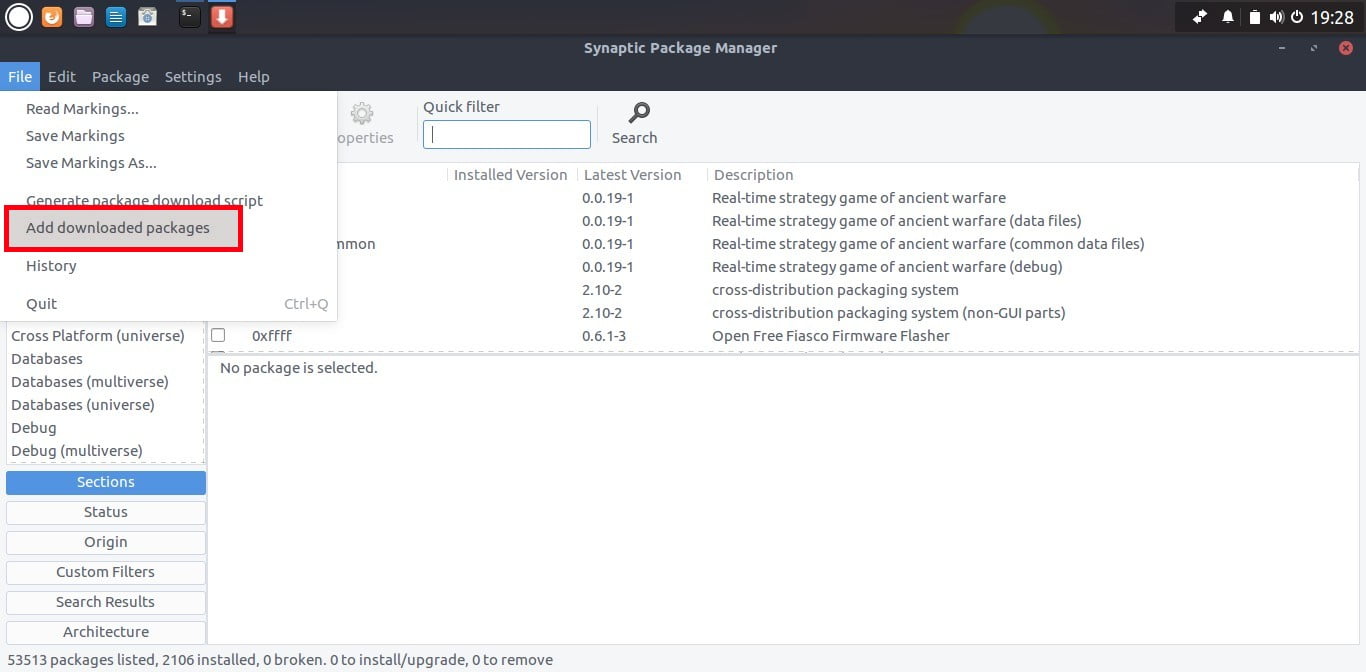
To do so, click
Cube -> Install -> Mark All Downloaded for Installation. And then
click Cube -> Install -> Install All Marked Packages to install them.

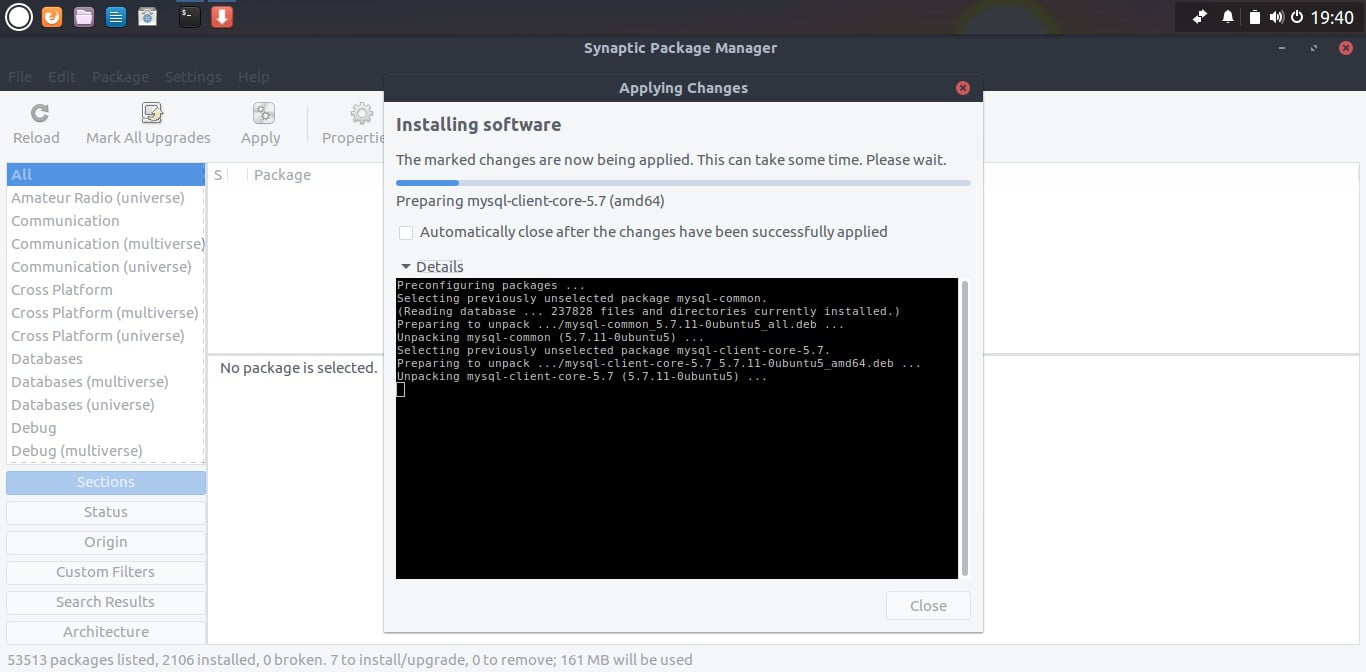
You will now see the list of packages to be installed. Click
Continue.

You will be asked to enter your sudo password. The packages are being installed now.
Once installation completed, Cube application will automatically close.
Let us see if the newly downloaded package (gimp) is installed or not.
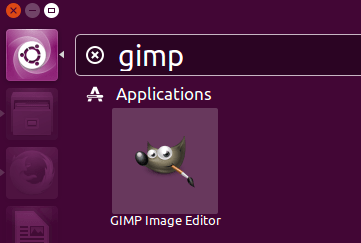
See? Gimp is installed!
Clean Project
Once you have installed all packages, delete the project to free up some space for future projects. To do so, click
Cube -> Project -> Clean Project.
Conclusion
Camicri Cube is not just to install packages on non-internet
connected systems but also to reduce bandwidth in greater number. If you
have to install same packages in large number of computers, this
application might be a great choice. Download the applications, keep
them safely in an external drive and install them whenever required in
the offline Ubuntu systems. You don’t have repeatedly download the same
packages over and over. You can create different project to install
different kind of packages.
Resources: